- Log in to the BuzzBlender Admin panel. First things first, log in to your BuzzBlender account and head over to the main page.
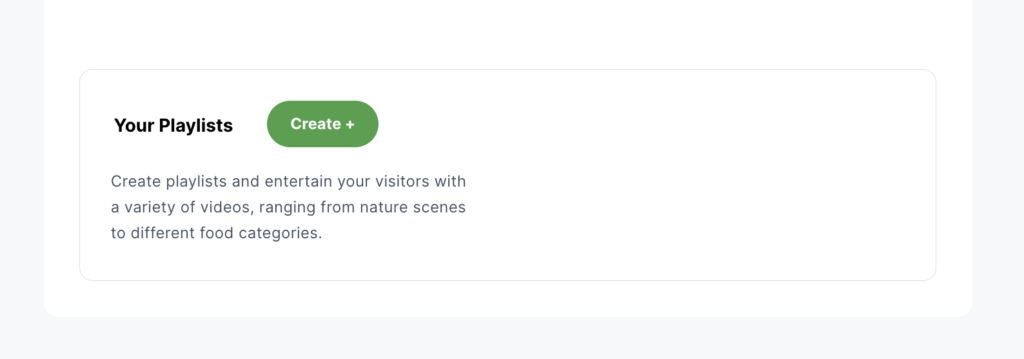
- Click on the Main page to the button “Create”.
Look for the “Create” button and give it a click. This is where the magic begins! ✨
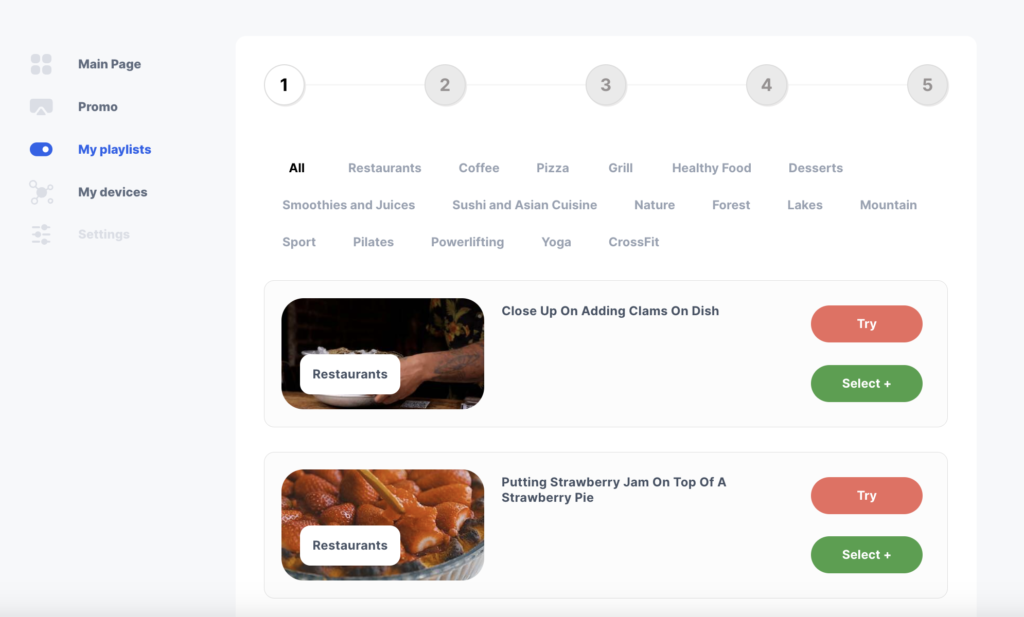
3. Pick Your Videos.
Browse through a variety of videos and choose what fits your vibe. Got a coffee shop? 🍵 Select videos from the “Coffee” category, then spice it up with some “Desserts” clips to grab attention. Your customers won’t be able to resist!
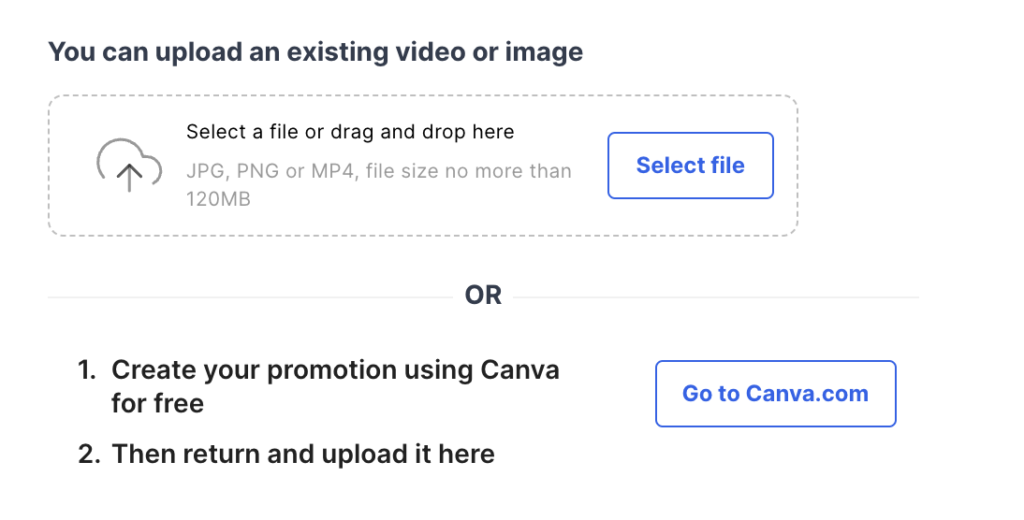
4. Add Your Promo
Got a promo? Add it to your playlist for an extra punch! Upload your own photos or videos. Need something snazzy? Canva is a lifesaver for creating cool promotional materials or menus in minutes.
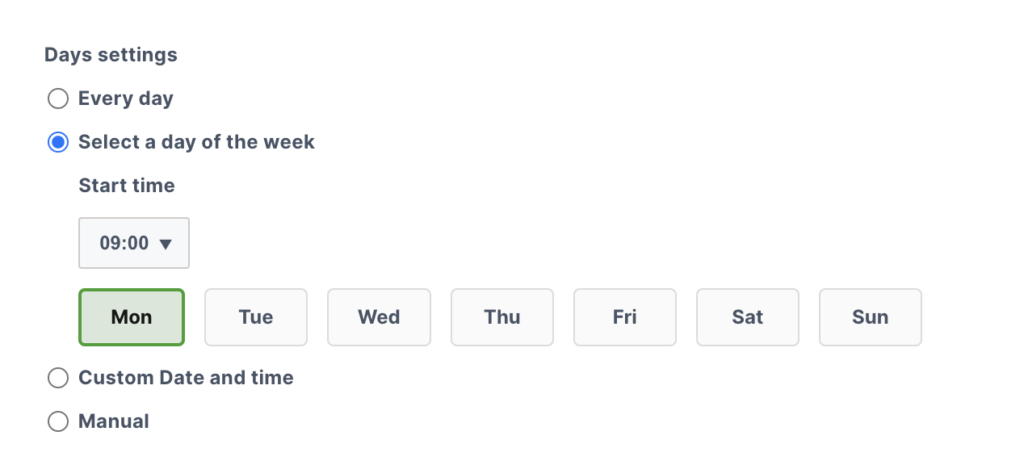
5. Set Showtime settings. Decide when to show your playlist.
For example:
• Lunchtime? Play “Happy Hour” deals.
• Evenings? Highlight your drink specials after 6 PM.
Timing is everything!
6. Manage Your Devices Have multiple screens? No problem! You can:
• Play the same playlist on all devices.
• Or, tailor content for specific screens.
It’s all up to you!

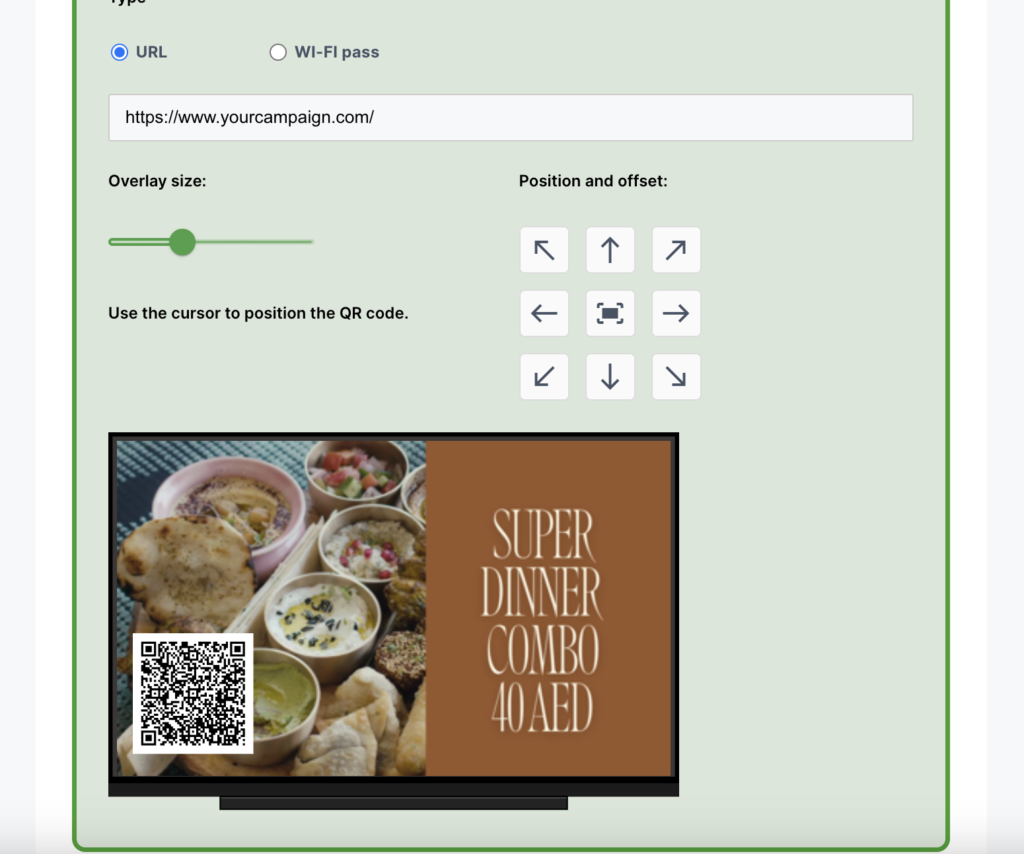
7. Measure Campaign Effectiveness. Want to know if your promo is working? Add a QR code to track your campaign’s performance.
• Upload your promo.
• Insert a link.
• Choose where the QR code will appear on-screen.
Now you’re in full control of the data. 💡
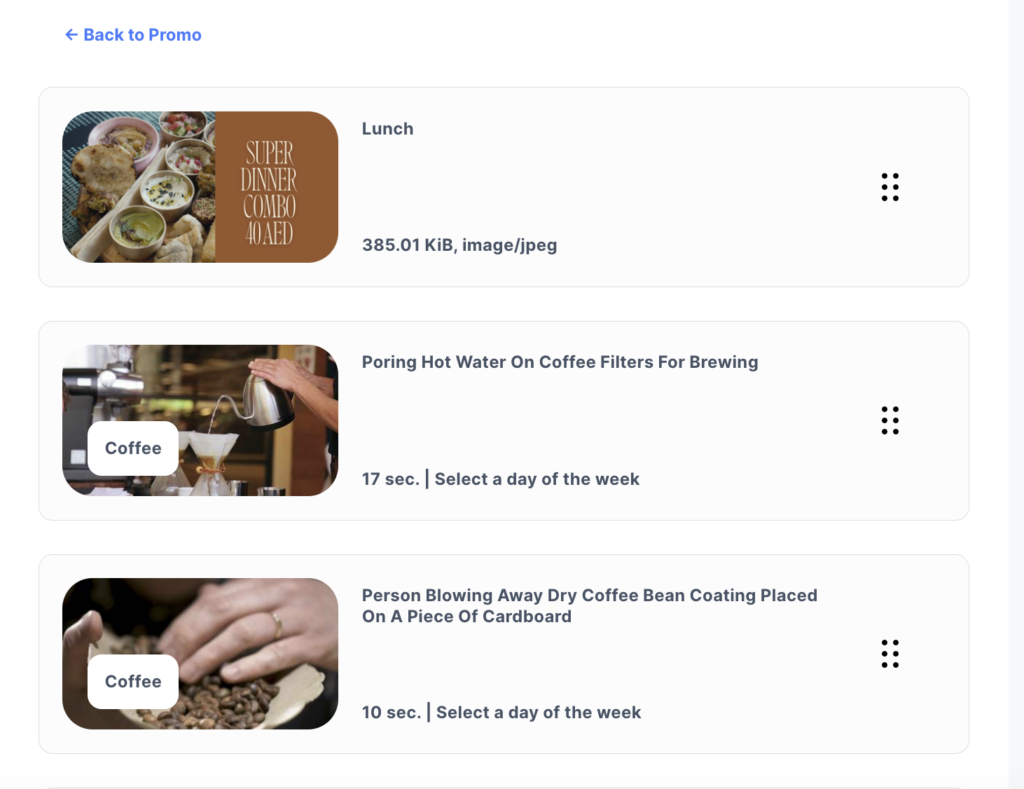
8. Organize with Drag-and-Drop
Arrange your playlist elements in the perfect order using a super-simple drag-and-drop feature. Easy peasy!
9. Sit Back and Let It Roll
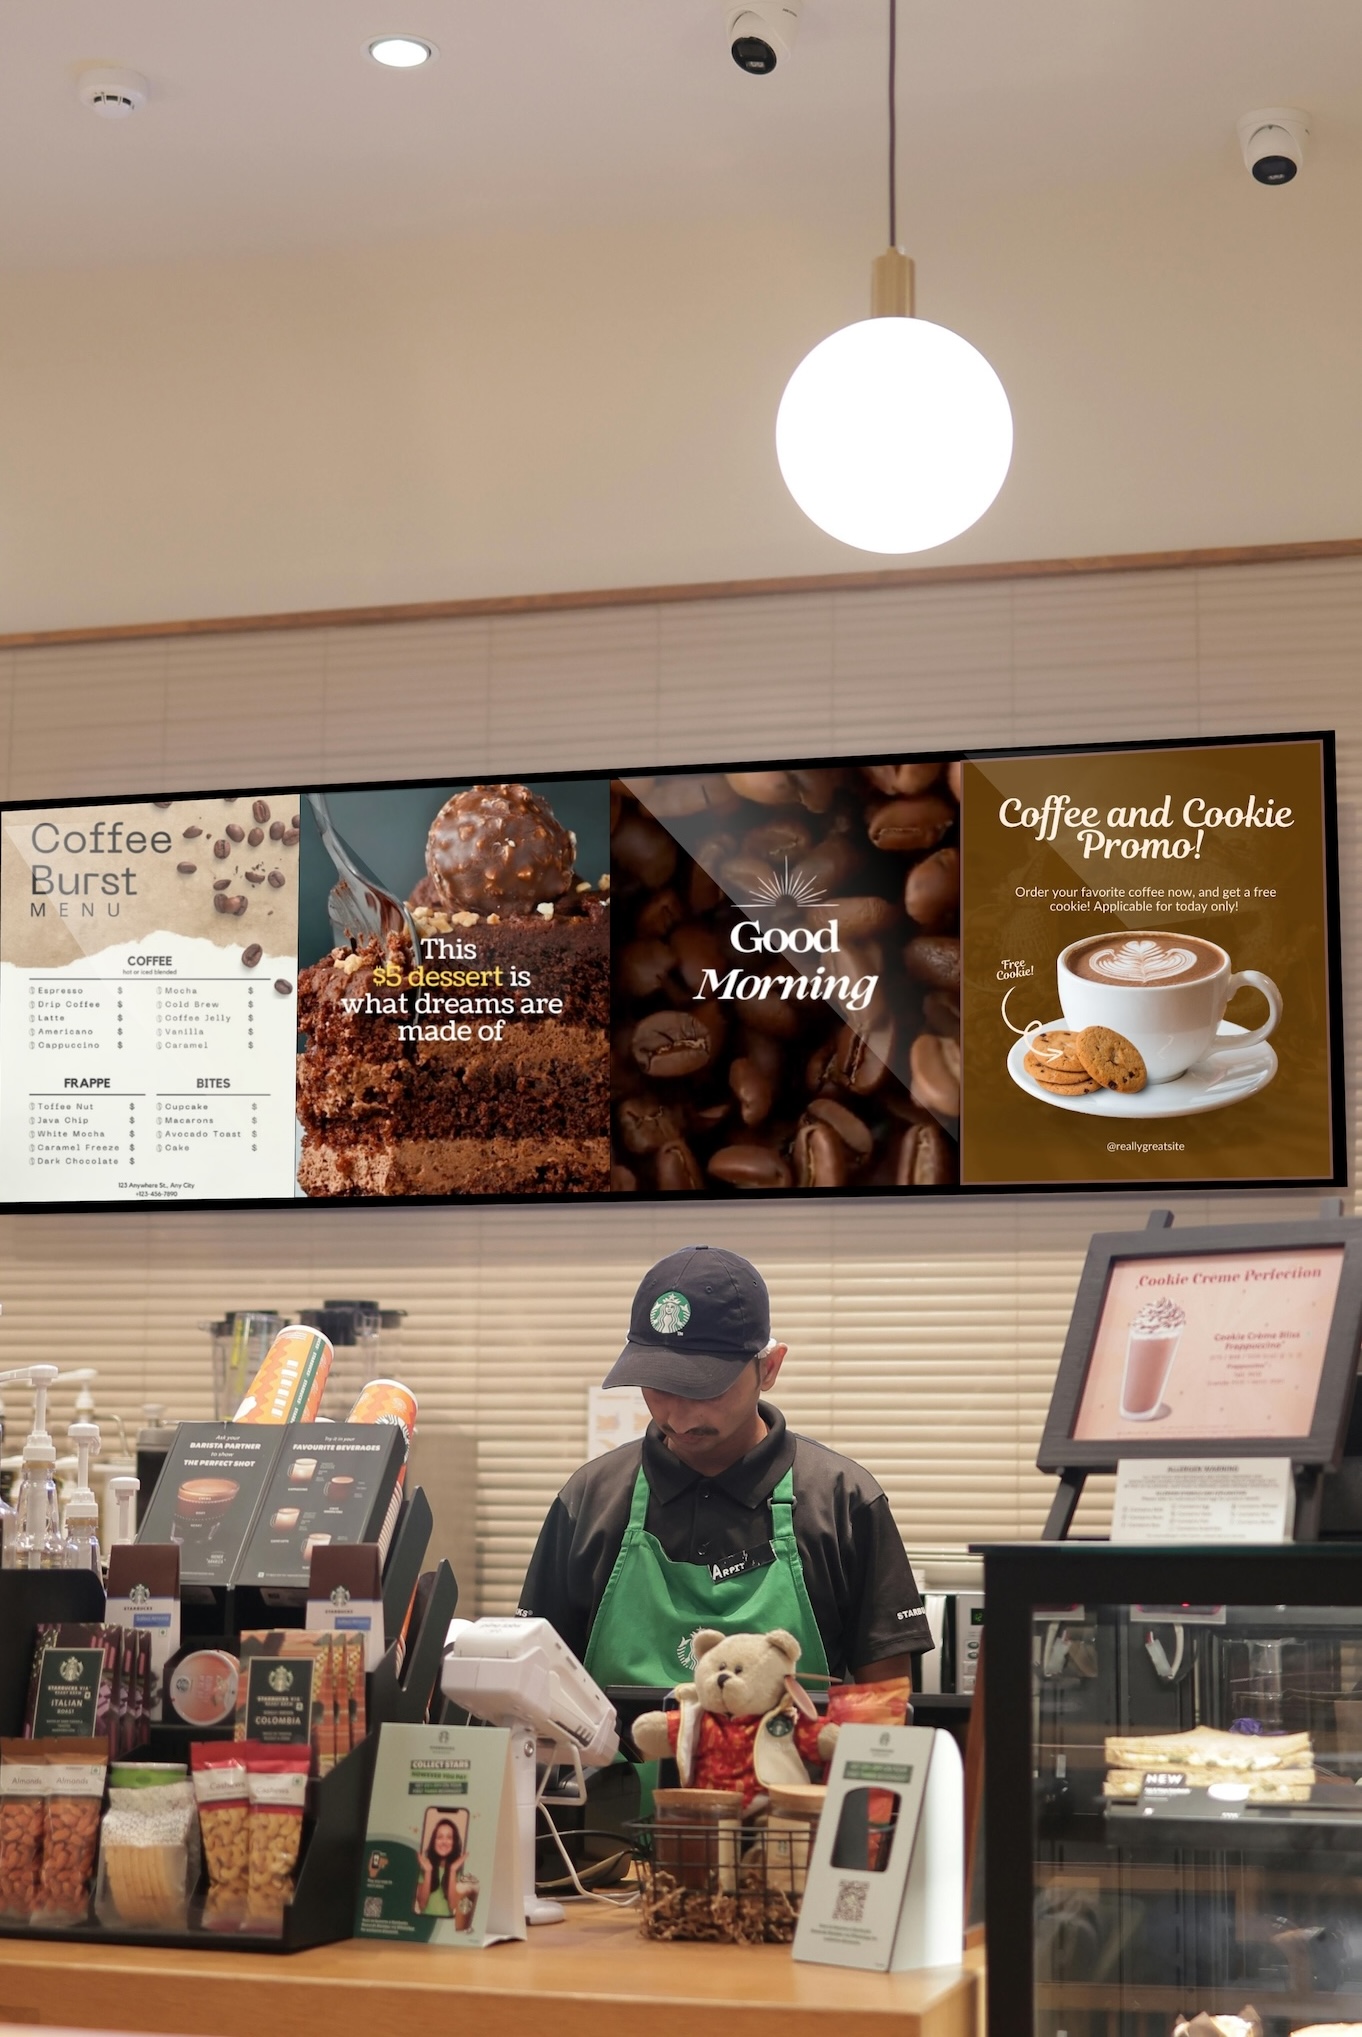
Ta-da! 🎉 Your playlist will now automatically display to your customers at just the right time.
That’s it! Creating playlists has never been this fun (and profitable). Ready to give it a try? Head over to BuzzBlender and start boosting your business today! 🚀
Remember, you can do everything right from your mobile phone! 📱




Leave a Reply